
In this part we’re going to finish up the roof. We’re going to make and install the fascia. Once that’s done we can install the roof felt and then the shingles. Our roof is considered a low angled roof. We’ll look at the different way the roof felt needs to be installed. Lastly, the roof shingles will be installed for a high situation.
The video below will give you an overview of what we’re going to cover.
Making and Installing the Fascia
Before we install the shingles let’s put the final fascia on. Of course, because we added some extra thickness with the insulated roof panels, we need to make our own. I would suggest using something at least ½ inch thick.
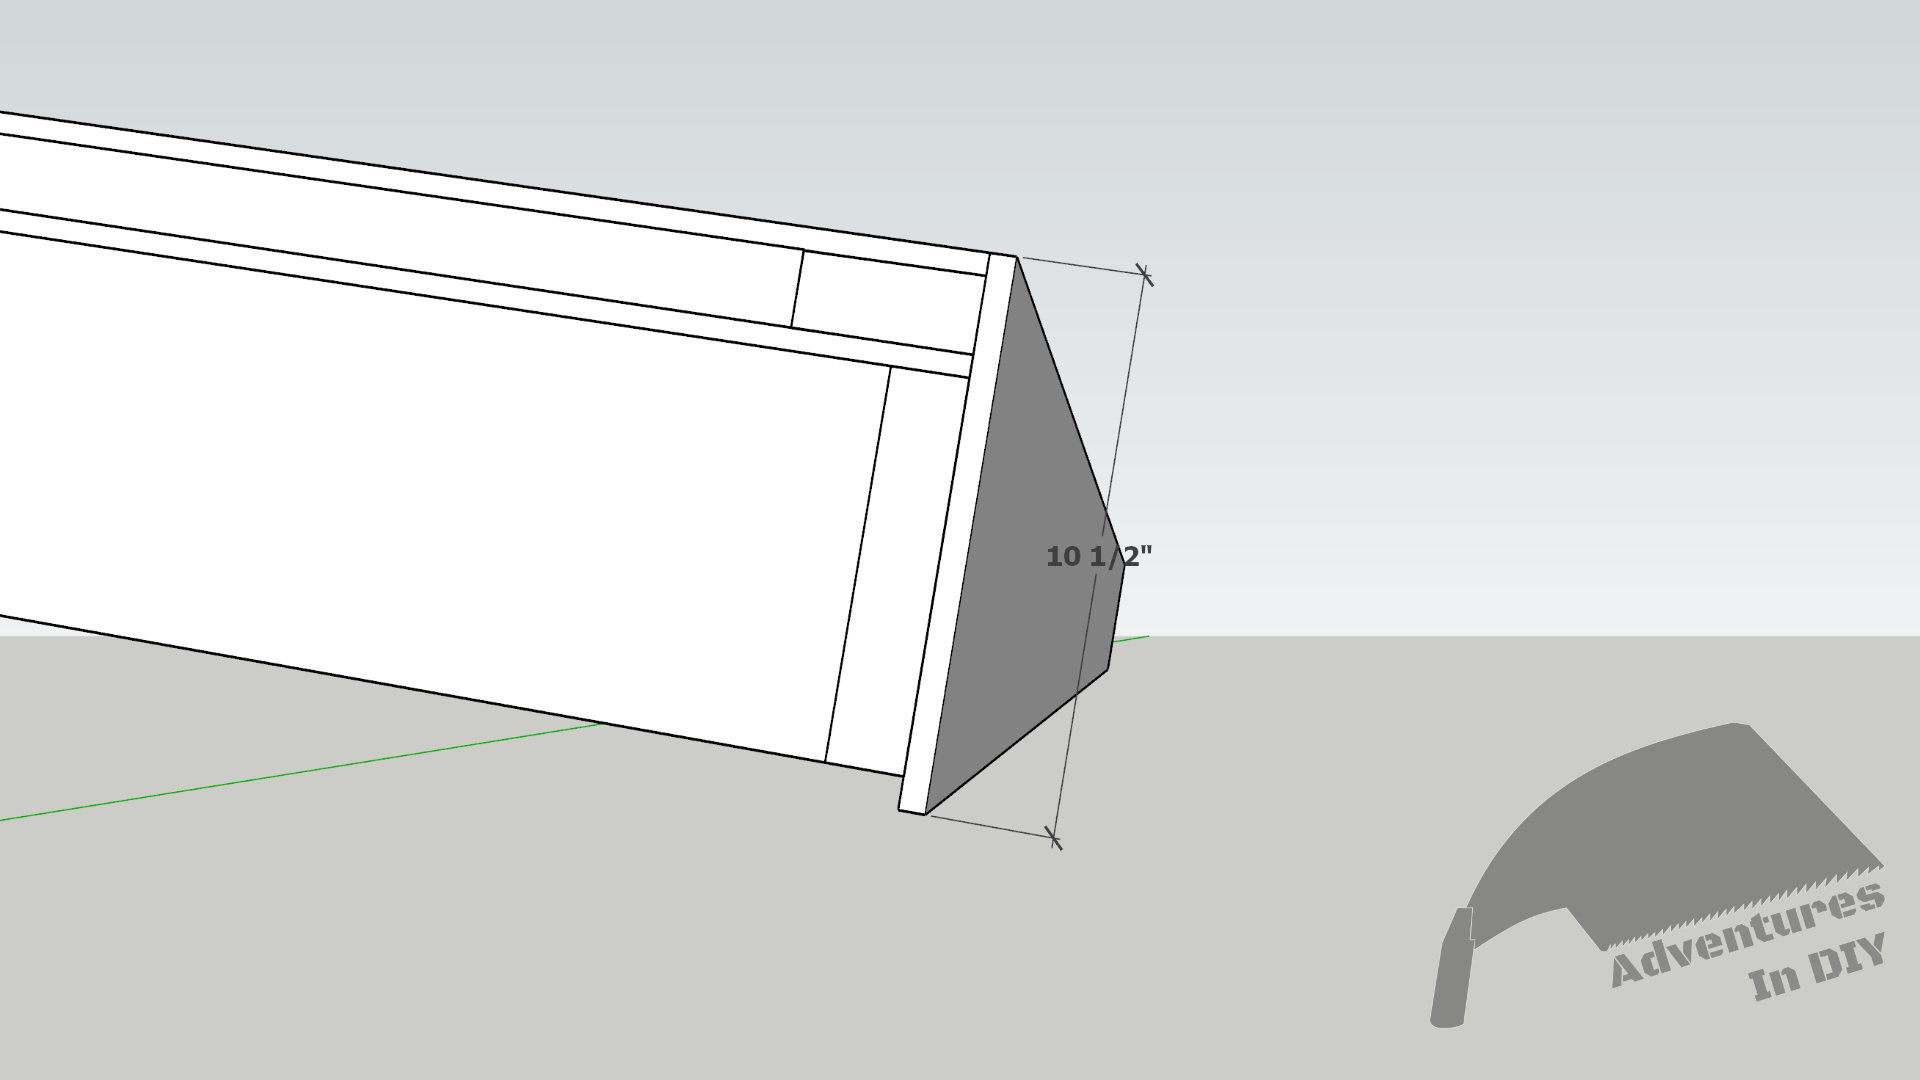
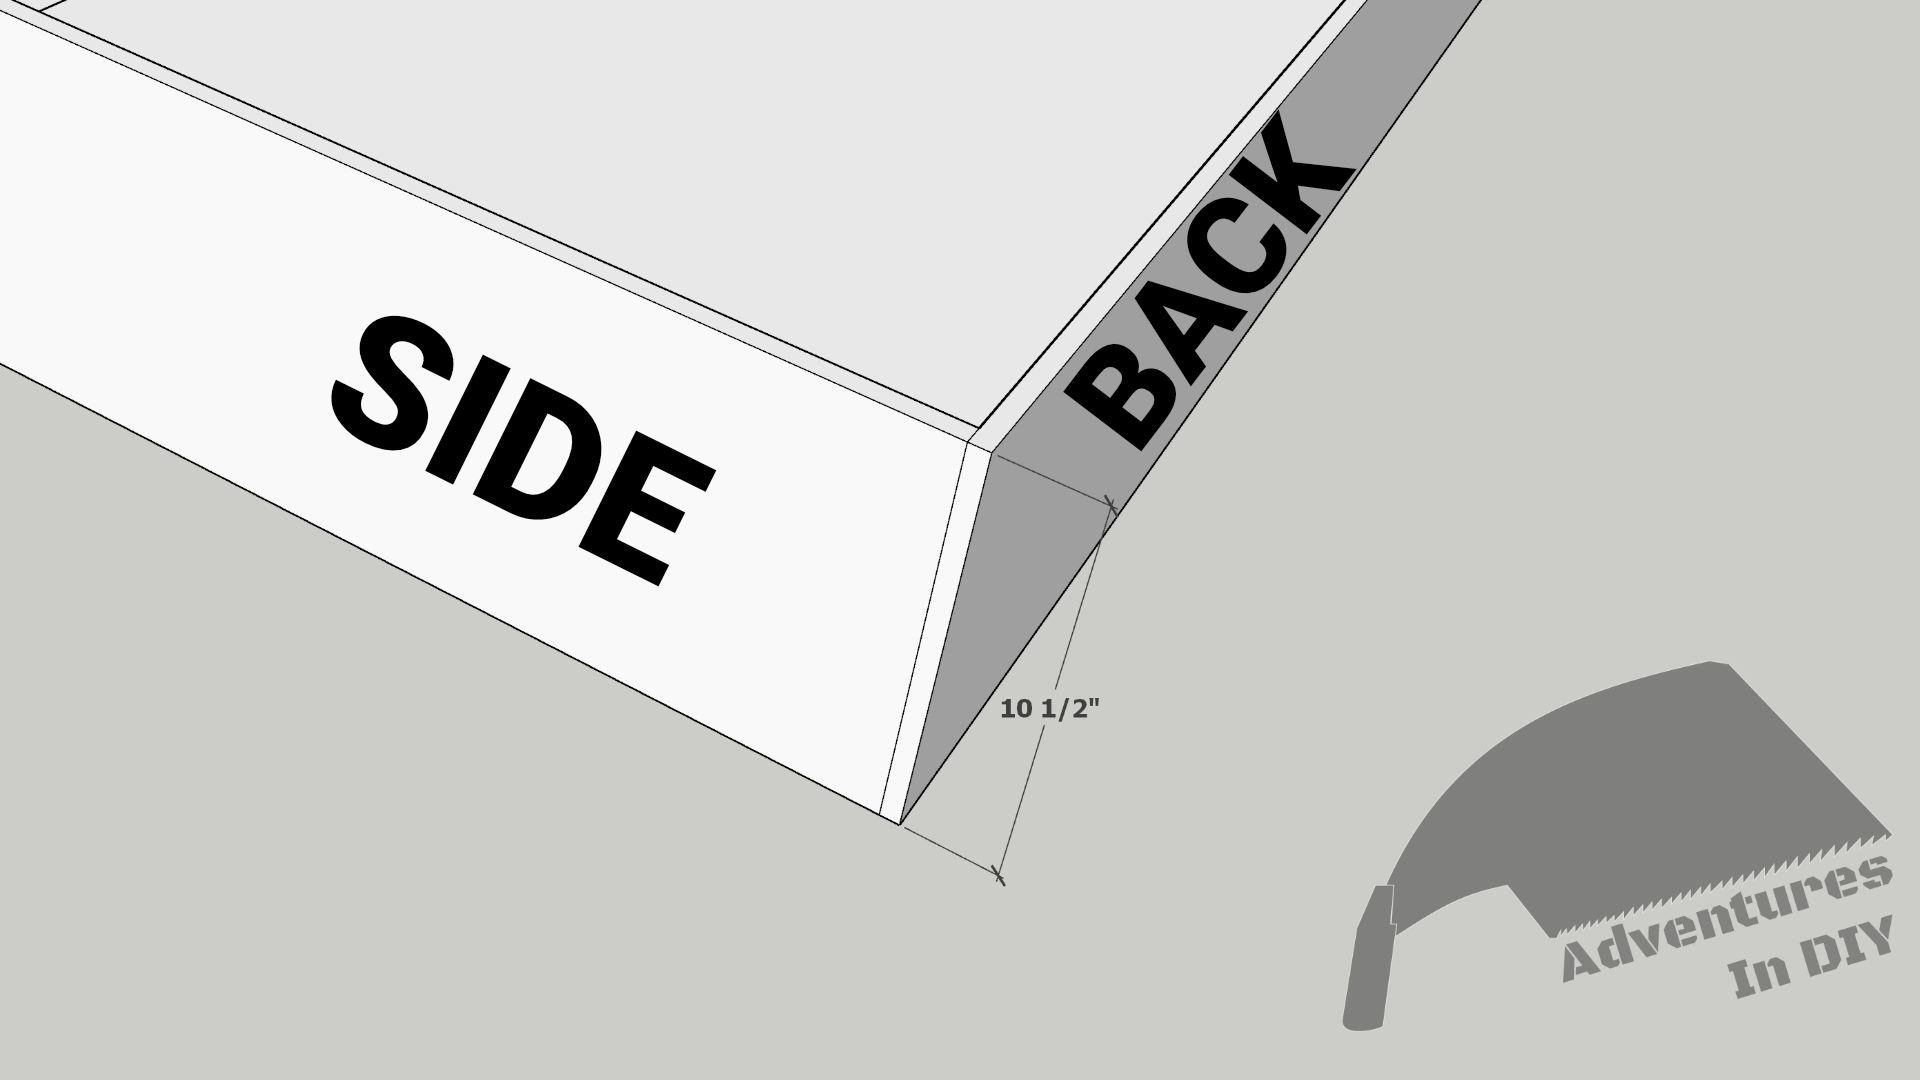
I plan on putting in a soffit so that needs to be added to the overall width of the fascia. Let’s add everything up.
7 ½ ” for the 2×8 rafter
+
2 ½” for the three layers of the insulated roof panels
+
½” for the soffit (I’m going to just use ½” plywood)
Total = 10 ½ ” width
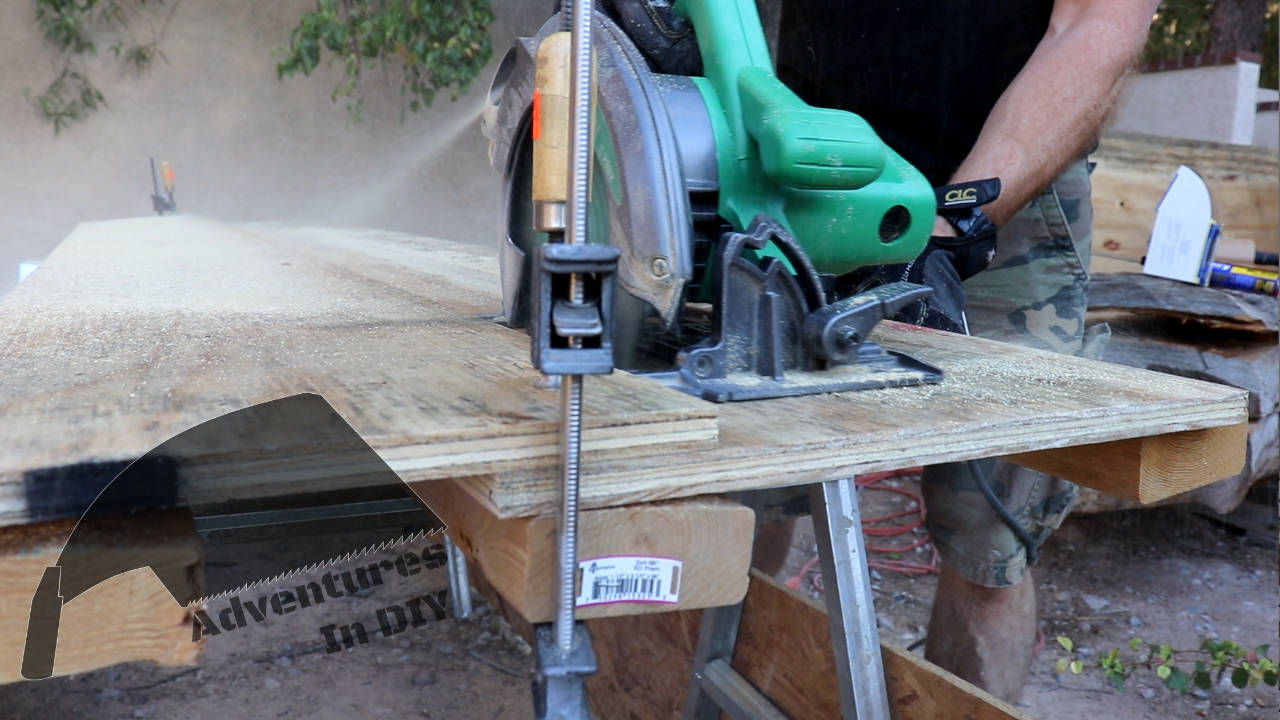
Cutting the Fascia
Now we’re going to rip some 1/2″ 4 x 8 sheets of plywood in 10 1/2″ widths. If you have a table saw, cutting the fascia from the plywood will be quick. Alternatively, you can use a guide and a circular saw like I’ve done.
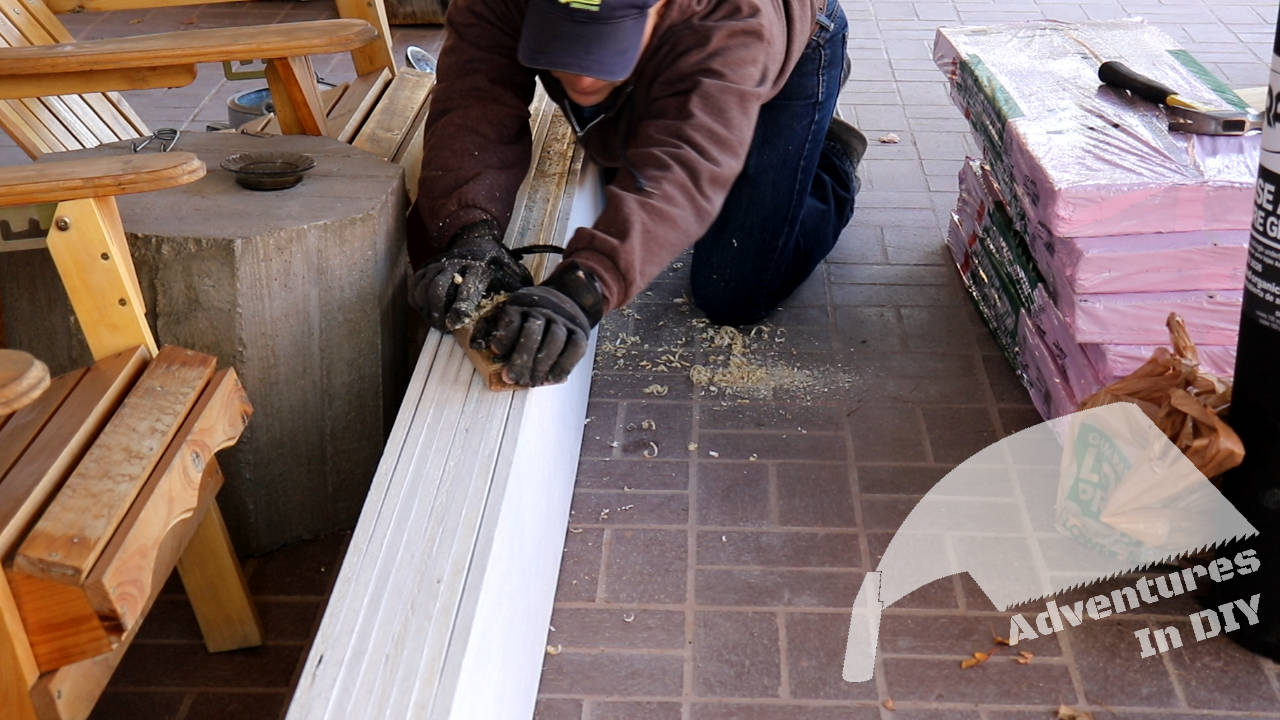
My cuts weren’t all the same so I used a hand plane to make them pretty even.
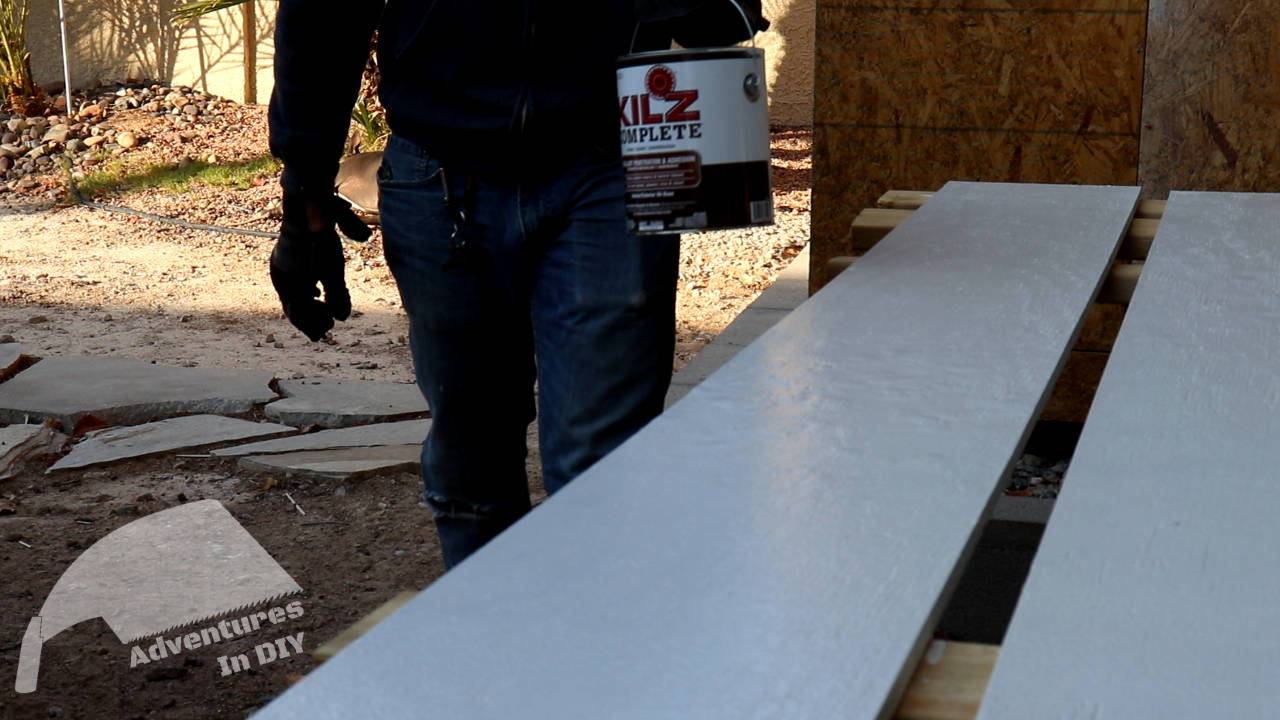
Priming the Fascia
I’m priming the plywood on all sides before installation. I’m doing this to possibly help reduce moisture absorption and make it easier to paint later.
Finding the Center of the Roof Edges
We’re going to measure the center of each side of the roof. This is where we are going to join two boards together to span the length of each side.

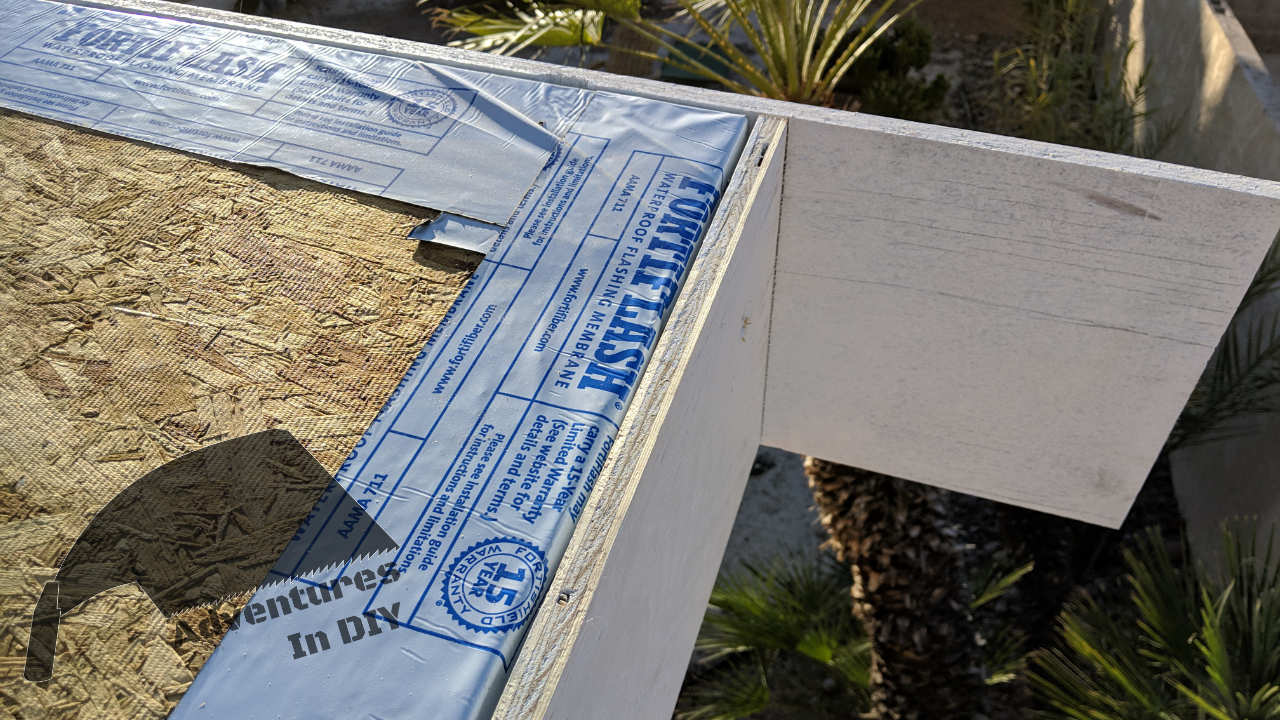
Cutting the 45 Degree Angle for the Fascia Center
Where the two fascia boards meet in the center, we’re going to cut a 45 degree angle. These boards are a little too big for my miter saw so I used a circular saw and speed square.
Don’t assume the mark on your circular saw is actually 45 degrees. Use the speed square to set the 45 degree angle.

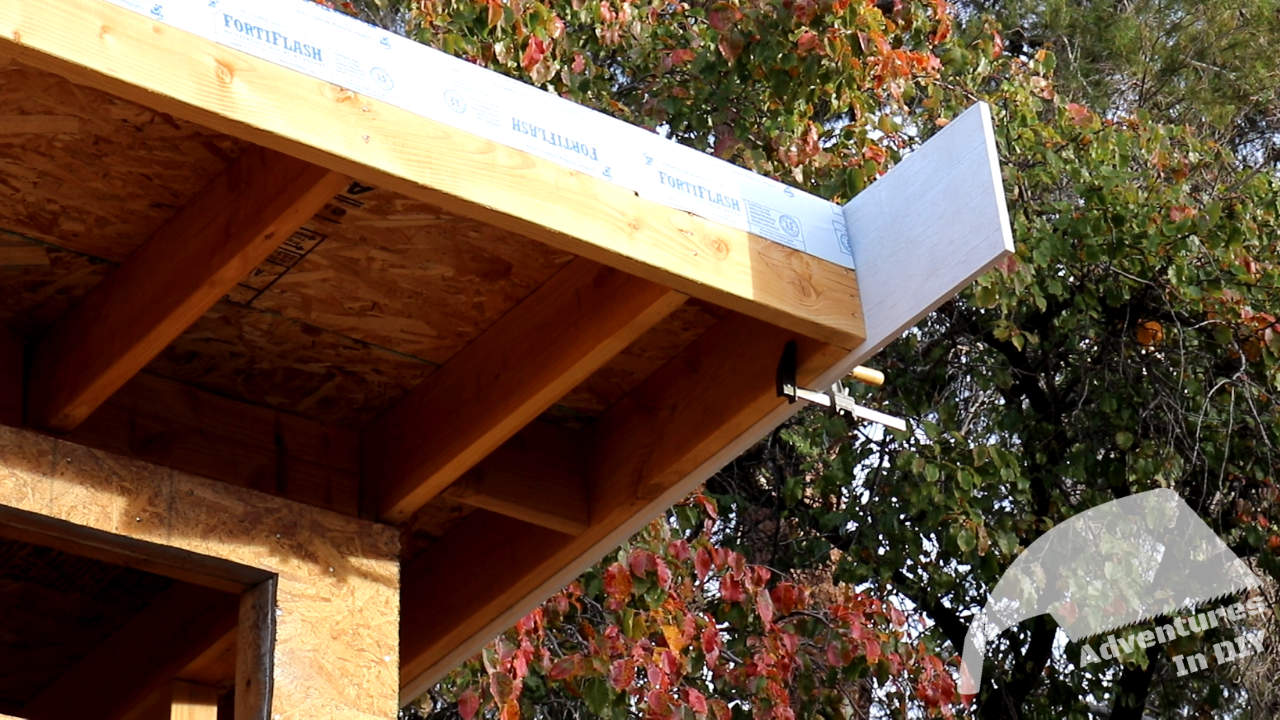
Installing the Boards
I found it easier to install one board on the side first. The method I used in the video was what I figured out installing these by myself. If you have two people on ladders, this will go quick.
We’re doing simple butt joints at the corners for these fascia boards. With that said, let’s do the sides of the roof first.
Line up the 45 degree cut with the center mark on the roof side.
Level the top board with the roof line.
Clamp the board to hold it in place and mark the end of the board so it’s flush with the edge of the face of the roof.

Cut the fascia board.

Now, it’s just a matter of lining things up again and screwing the fascia board in place. I’m going with exterior screws but if you want to save a little money you can go with galvanized nails.

With the first board in place, now you’ll
- Line up the other board, with the 45 degree overlapping
- Mark the end
- Cut the fascia to fit
- Install it in place
You’ll do the same thing for the other side of the roof.
The only difference when you’re installing the fascia for the front and back edges of the roof is, you’re lining up your cuts on the end with the newly installed side fascia boards.
When I put up the fascia, I only used a one screw every 16-18 inches. I did this in case something horribly went wrong with the setup. Once everything was in place and looked good, I went back and put additional screws so there was a row of screws instead of just the one.
Installing the Drip Edge
We’re going to install the drip edge so it’s away from the fascia board. I got this from watching a video from This Old House. They recommended installing the drip edge a ½ inch away. This wasn’t an option with the drip edge I had. The one they used is an 8 inch drip edge, where mine is only 2 inches.
Code is that there must be at least 2 inches of drip edge onto the roof so this method of installation isn’t an option for me.
With that said, we’re going to
- Trim and overlap the drip edge 6-8 inches
- Apply some roof sealant at the overlap
Line up the drip edge flush with the edge, and nail it in place every 12 inches using galvanized roofing nails.
So, this is something that I should have done with my install. I should have trimmed and bent the corners of the drip edge like in this Fine Homebuilding article.
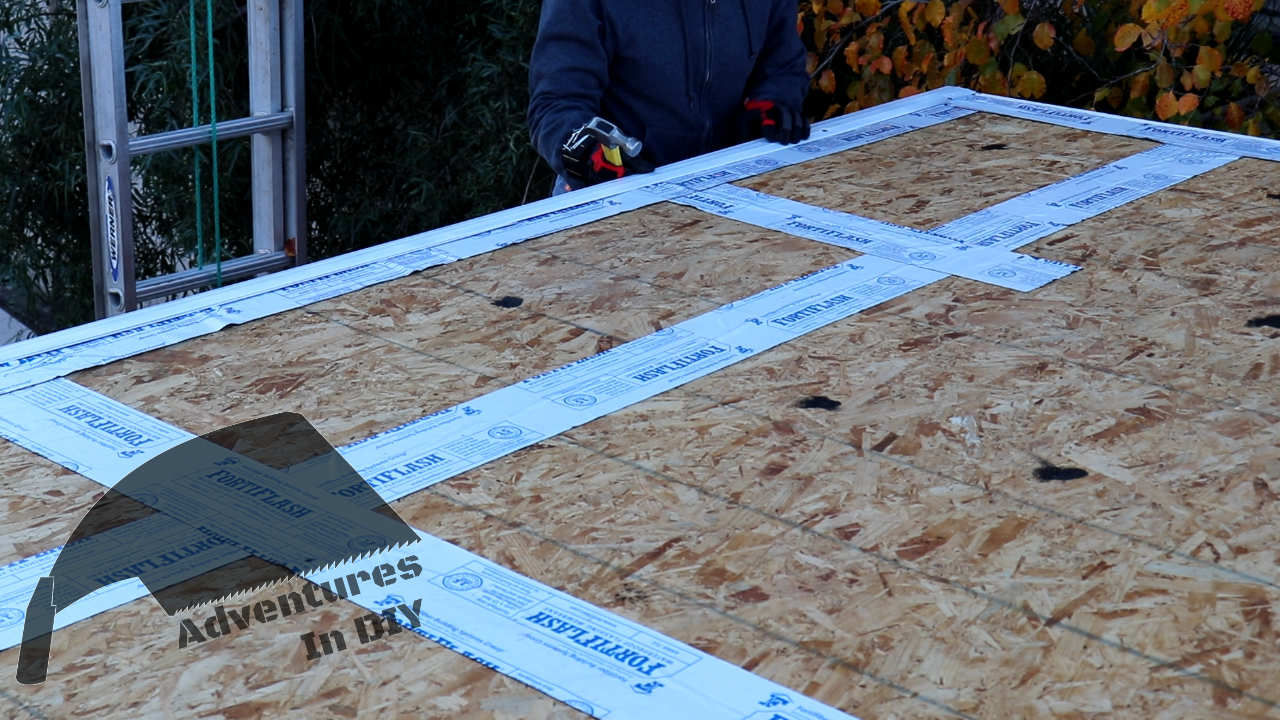
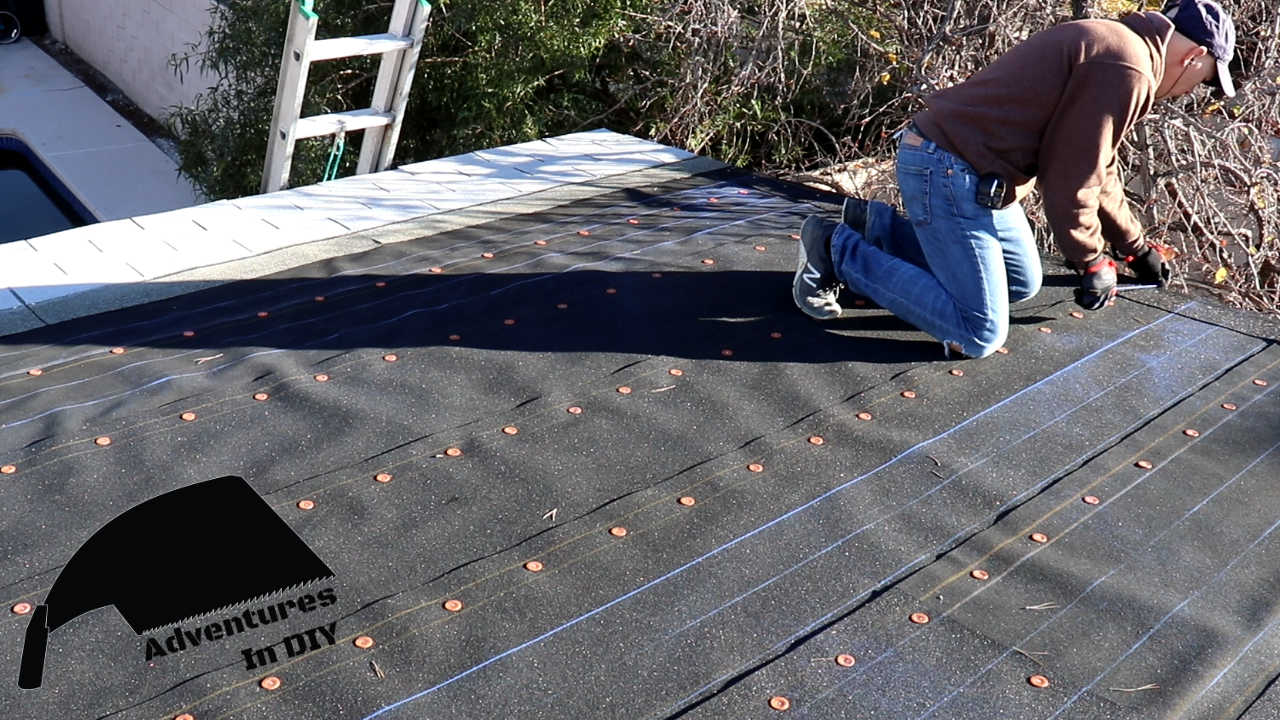
Installing the Underlayment
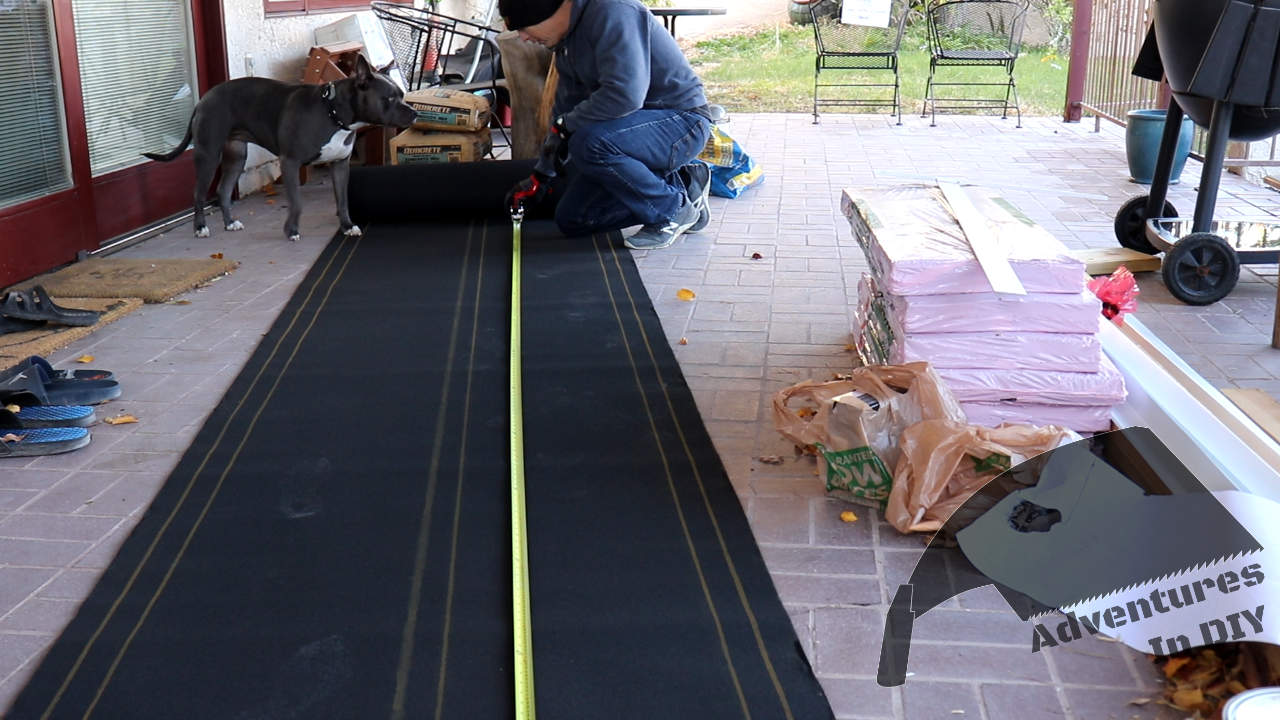
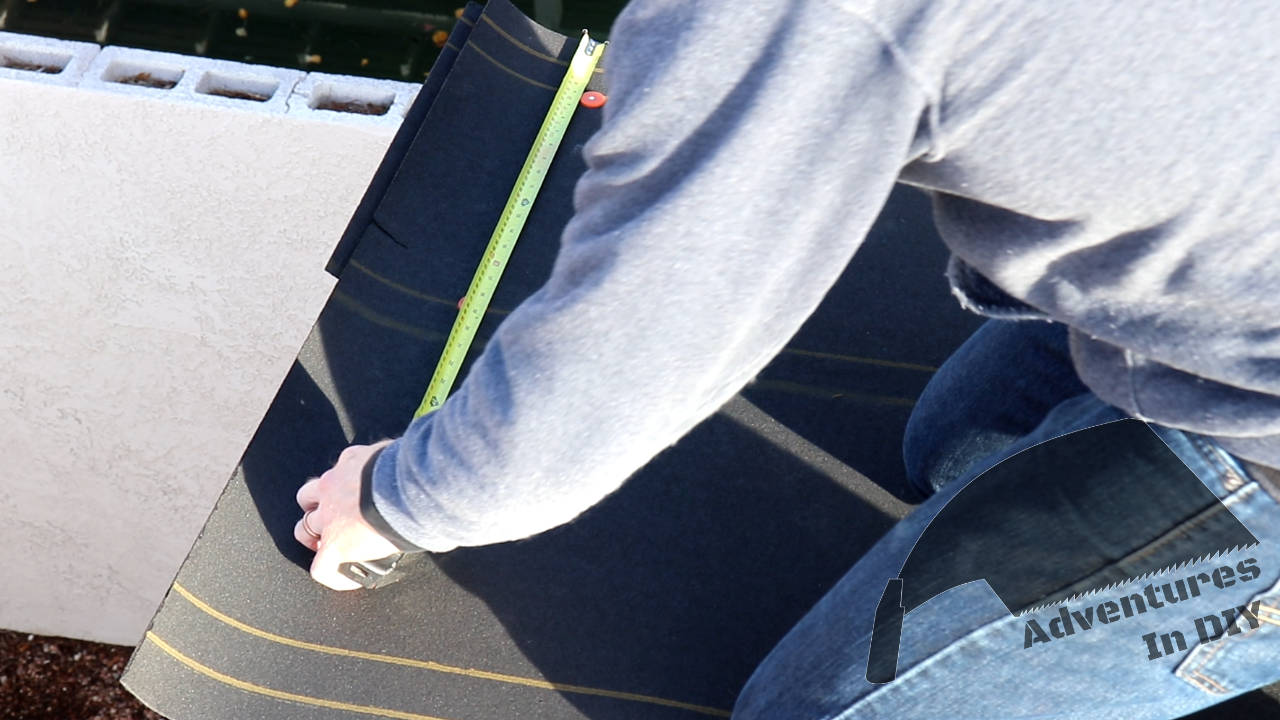
The installation instructions for a low angle roof calls for the underlayment to be installed so there is an overlapping double layer. I did all my cuts a little big (about 4 inches longer than the width of the roof) on the ground and then brought the cut sheet of felt on to the roof.
Rip a measured out sheet of the underlayment to 19 inches. Lay down and nail in place a 19 inch starter strip of underlayment over the drip edge. Just use enough nails to hold it in place.


On top of that we’re going to put down a full 39 inch underlayment strip.
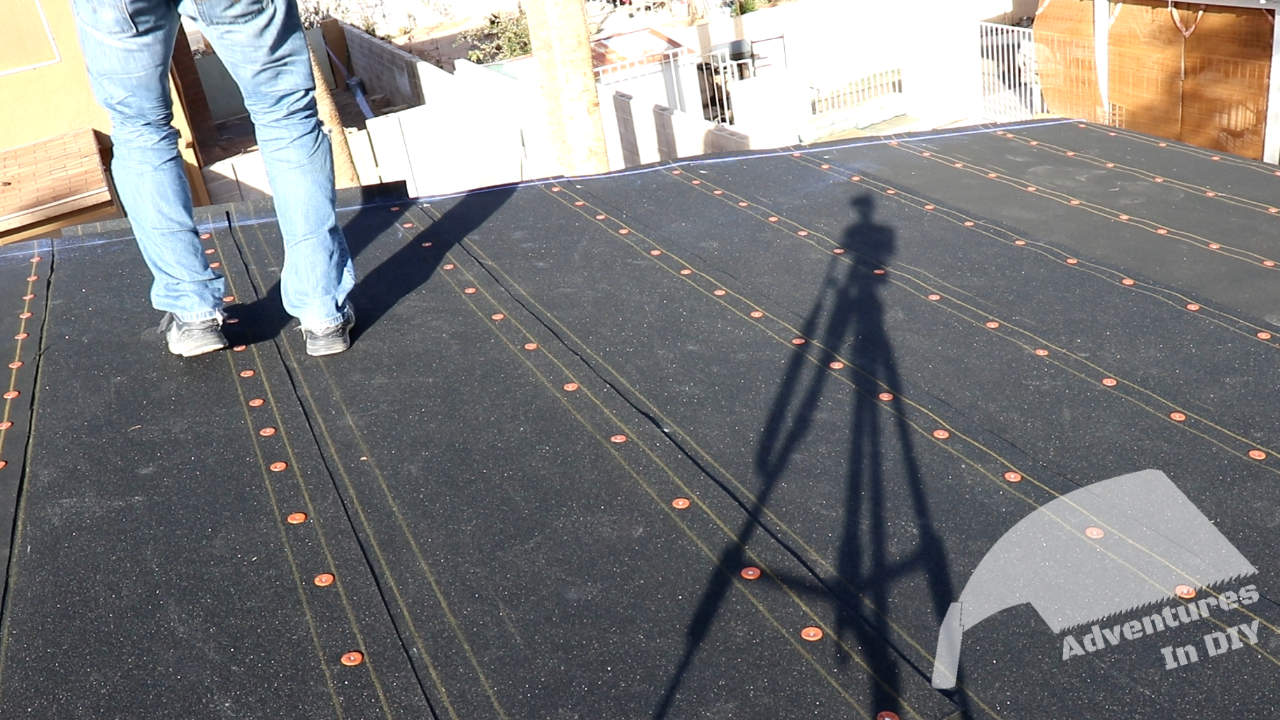
Once the felt is in position, drive in a couple nails in the corners to hold it in place.
Nail the strip in place every 8 inches on the bottom and middle of the sheet.

The second layer we put on will be 17 inches from the bottom of that layer we just put on.

For the rest of the sheets of underlayment we’re going to install it 19 inches from the bottom of the previous layer.
I used two rolls of 40# (40 pound) roof felt, and was able to use full sheets on all the rows except one.
I put the non-full sheet on the row before the last one. It’s recommended to overlap the seam between the sheets 12 inches.


Once you get to the last full sheet at the top, do yourself a favor and align the front edge of the felt with the front edge of the roof.

Just like the other felt sheets, we’ll nail this last full sheet in the middle and bottom.
Now we’ll use the other half of that sheet we cut at the beginning.

Install that last half sheet by lining up the front edge.
Nail it in place on the front and bottom.
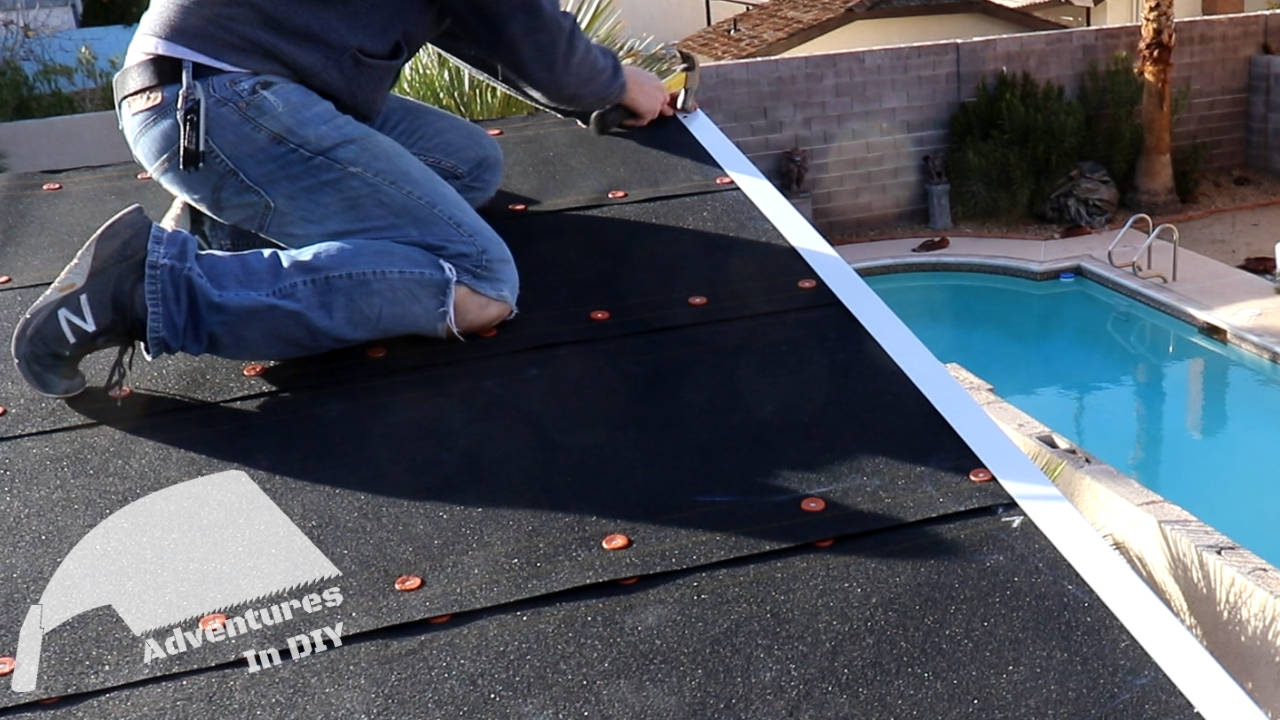
Now we need to trim the underlayment flush with the side of the roof. I don’t really feel confident the just cut away with a knife so I snapped a chalk line as a guide.

Installing the Drip Edge Flashing on the Sides
We’re going to cut one of the 10-foot pieces of flashing in half. We’ll use this to overlap with the full pieces of flashing to span the 14 feet.

Before we start installing the flashing, we need to think how the overlap joint will look when you look at it from the front.
This will help you decide which piece to overlap and where you want it placed.
With this in mind, I installed the 5 foot section we cut above at the back side of the roof. Line up the edge of the 5 foot section with installed drip edge on the back.
Make sure the flashing is snug against the roof and put a couple nails in place to make sure it doesn’t go anywhere.

Put some flashing sealant where the two pieces of flashing will overlap.

Make the front edge of the 10 foot piece of flashing flush with the front of the roof, and nail it in place every 8 – 10 inches.
Now just repeat the process for the other side.
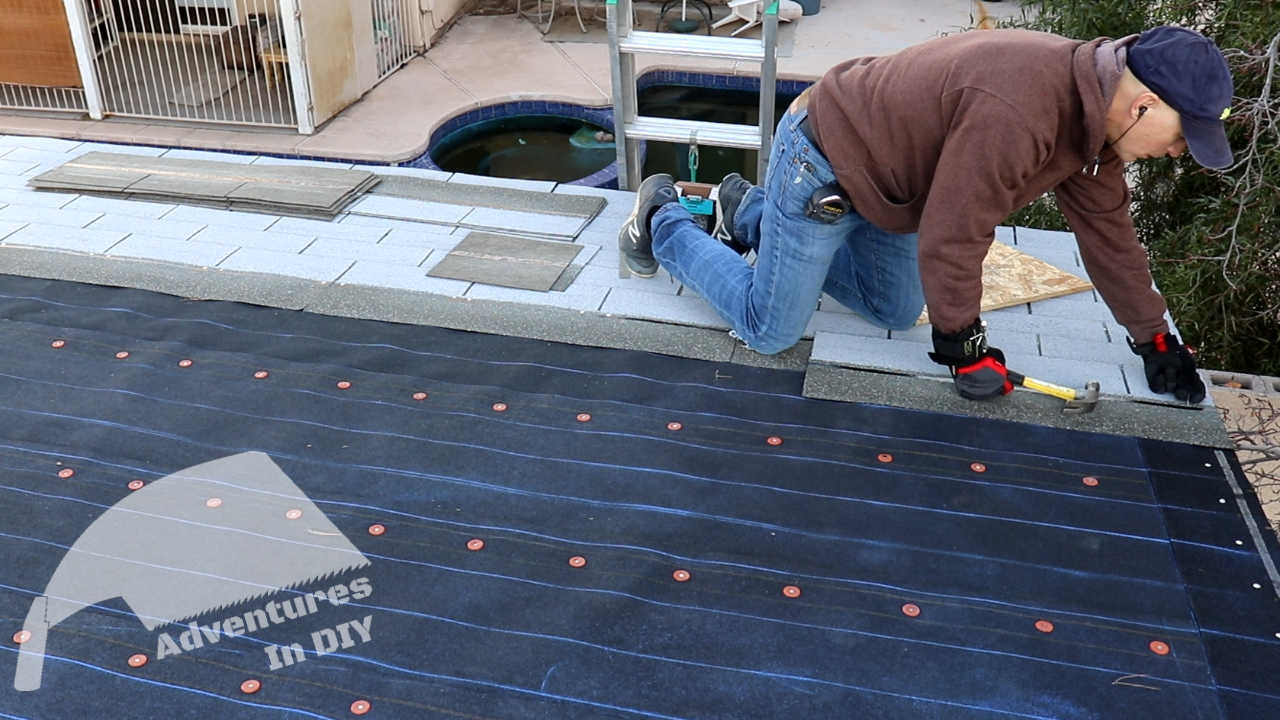
Installing the Shingle Starter Strip
Normally you would just put a starter strip on the back edge of the roof, but I’m really worried about high winds in my area. It’s not uncommon for us to have at least one day where the winds get to 50 – 60 mph. To help combat this I’m installing the starter strip on all 4 corners of the roof deck.
If you do this too, start with the front and back, and then do the sides.
Also, make sure the starter strip extends 3/8 to 1/2 inch beyond the rake and eves.


Installing Asphalt Shingles
I’m using Owens Corning Supreme shingle, mostly because they are affordable and are easily found at your local big box store. For our region, we don’t need to worry about installing an ice and water shield. If you are in one of those regions, take a look at your shingle instructions for that install.
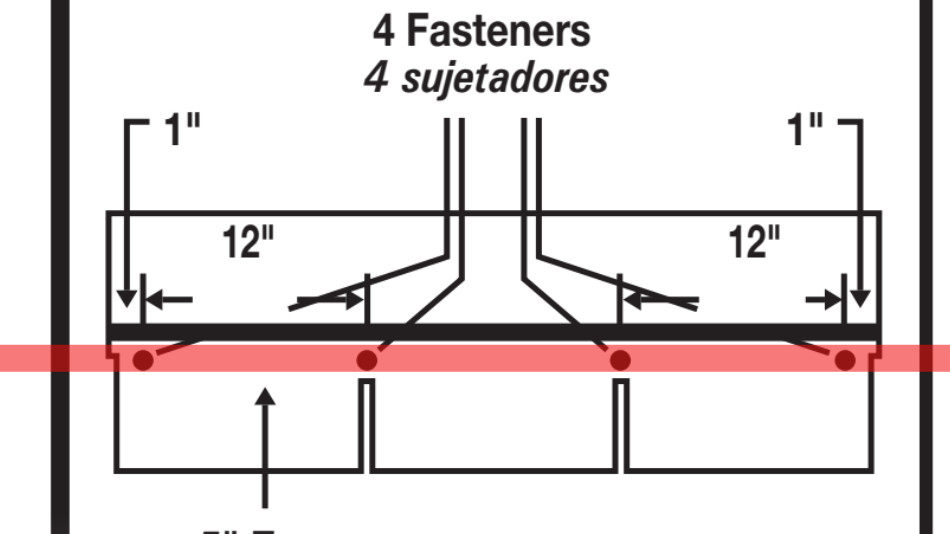
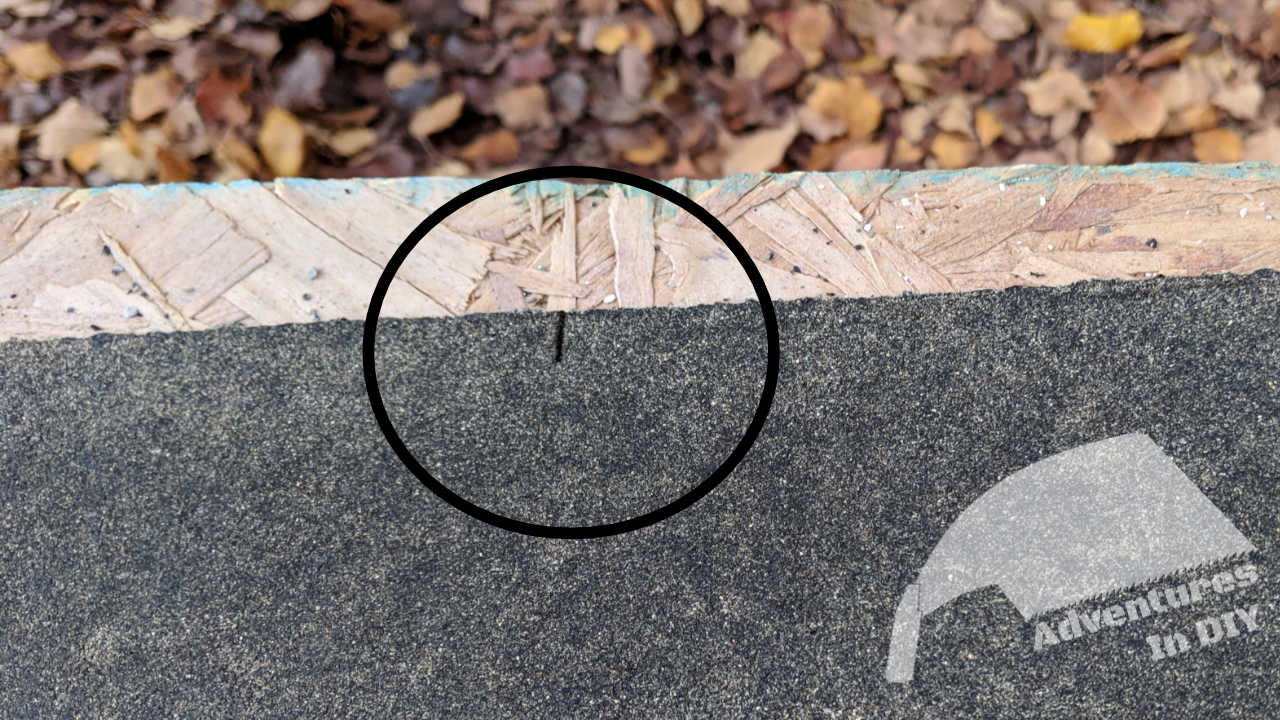
Shingle Nailing Pattern
Before we nailing let’s talk about nailing patterns for installing the shingles. There are two different patterns, 4 nails and 6 nails. If you aren’t worried about high winds or have a steep slope (not this project), then the 4 nail pattern should be fine. Of course I’m an over-engineering freak so I’m doing the 6 nail version.

The thing to notice beside the vertical placement of the nails is how they’re centered between the tar strip and top of the cutouts between the tabs

Installing Dem Shingles
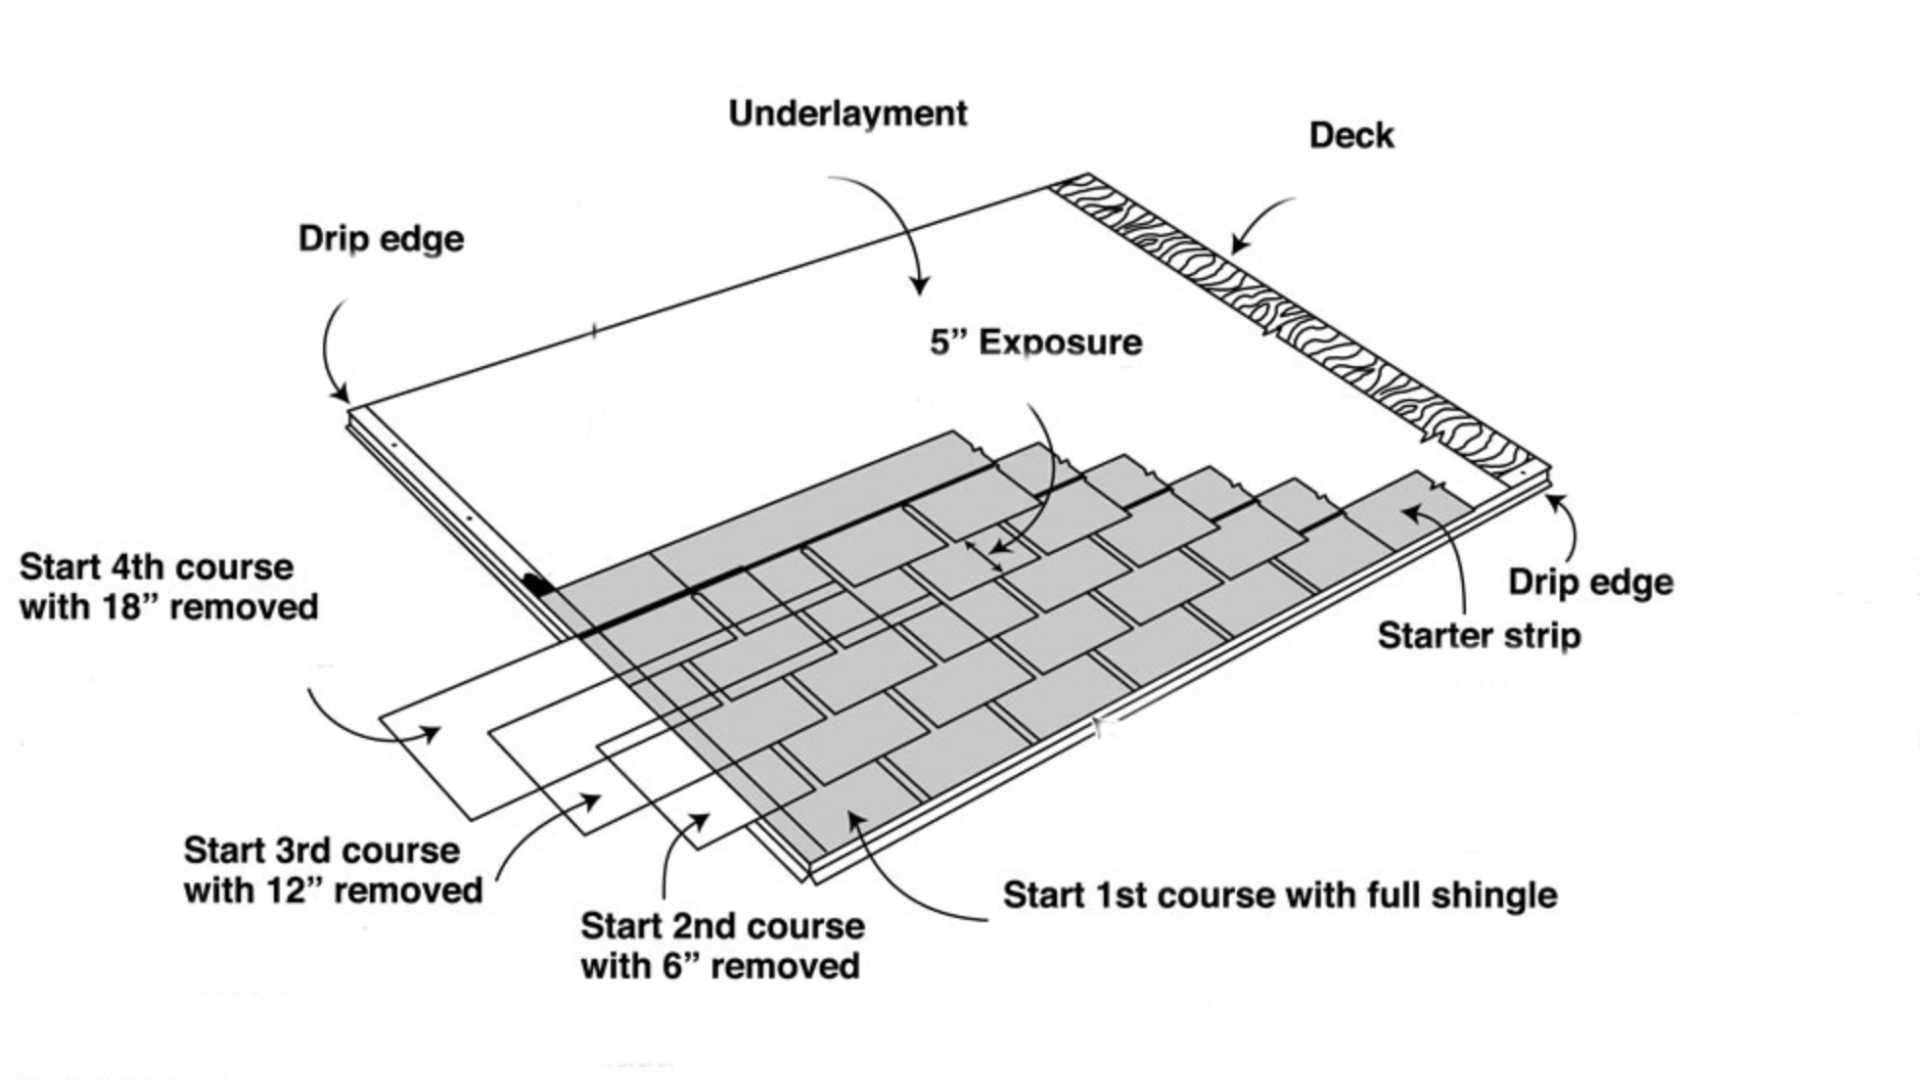
We’re going to start by installing the first coarse of shingles using full shingles. Make them flush with the starter shingles / strip you’ve put down.

So…I made the mistake of not doing layout lines after installing my first course of shingles. Doing layout lines is a matter of
- Measuring every 5 inches from the top of the first course
- Snap a chalk line
We’re doing the line every 5 inches because that’s the shingles have a 5 inch exposure.

Installing the Second Course
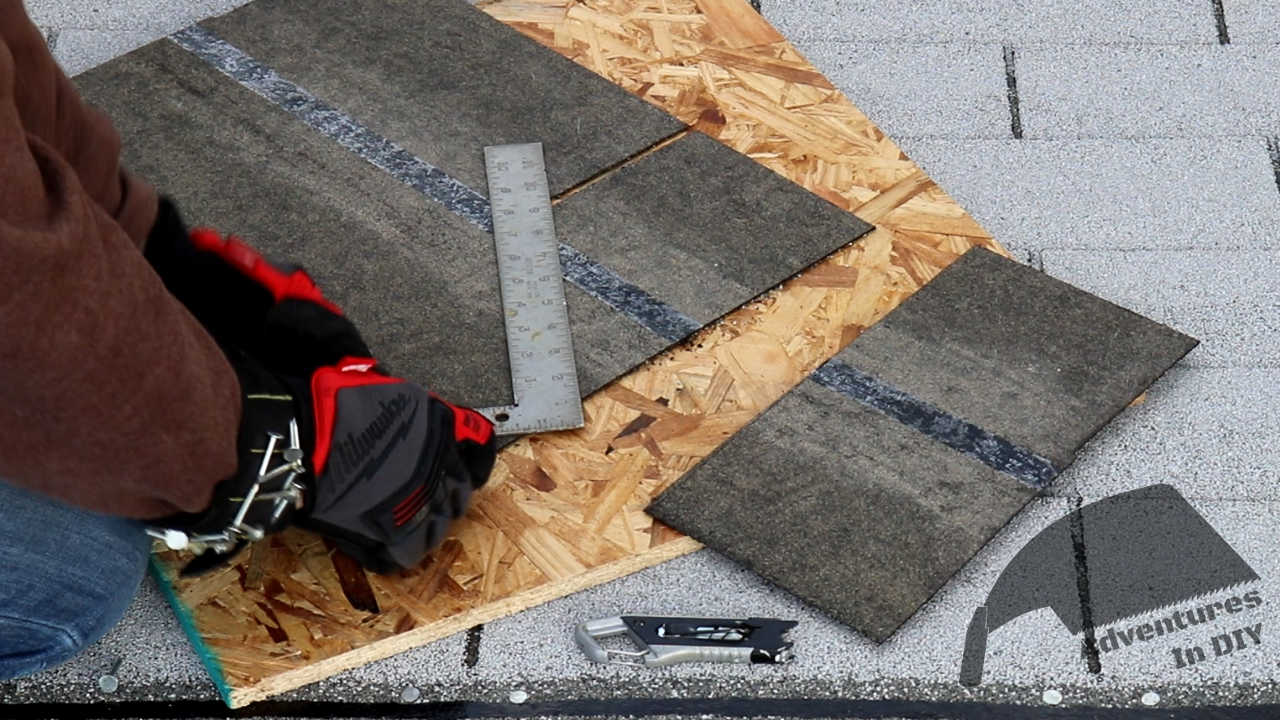
Starting with the second course we need to offset the starter shingle by 6 inches before continuing with full shingle sheets. You can lay the shingle 6 inches past the edge and the trim the excess overhang.
I’m not a roofer so I figured I’d mess up trimming the overhang so I trimmed 6 inches before putting the first shingle in place. If you use the same shingles I am, there is a notch in the middle of the tab you can use as reference.

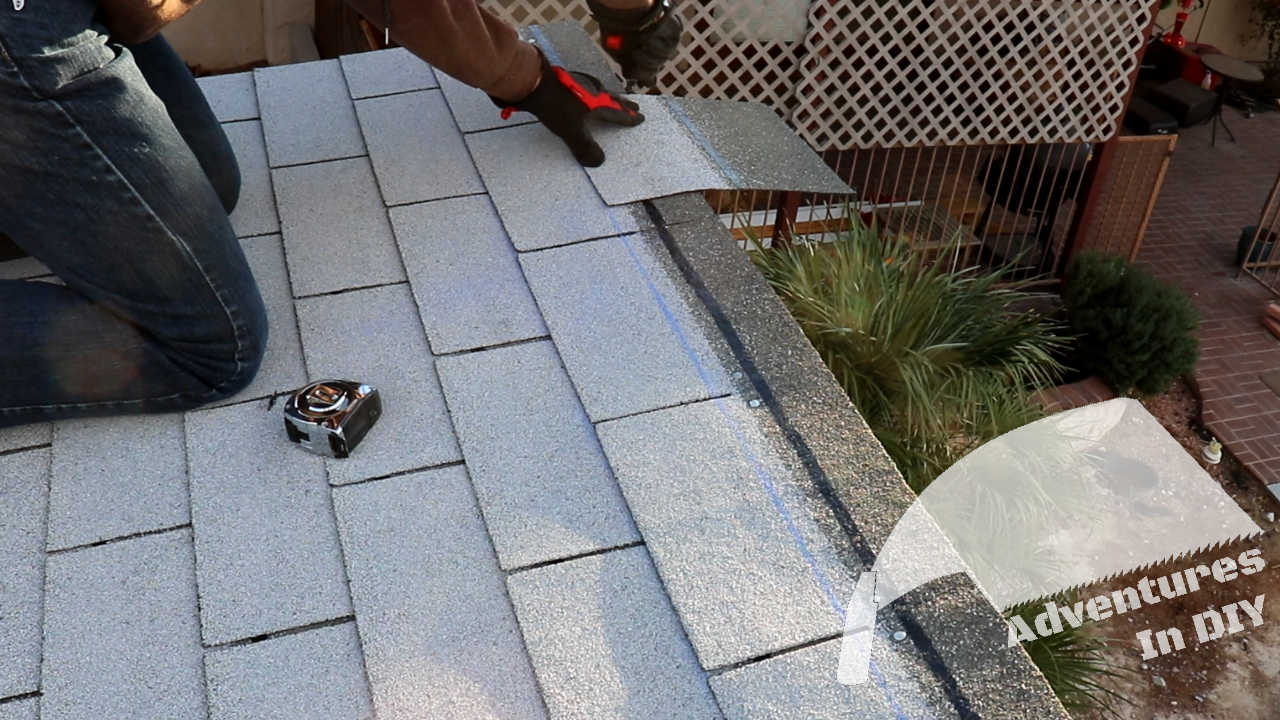
Just make sure you’re using the chalk lines we made above as installation guides. This will make sure you have a 5 inch exposure on your shingles.
Third Course Through Sixth Course
Now it’s just a matter of shifting each subsequent course by 6 inches. At least that’s what they say in the instructions. What I did was do cuts at the
- Middle of the shingle tab using the cut mark
- Full shingle tab area
The diagram below will give you an overview of the different layers of shingles with 6 inches incrementally taken out.
Finishing the Installed Courses
Now we’re going to go back and use some of those off cuts to fill in the end of the courses.
Again, I’m not a roofer so I didn’t feel confident that I wouldn’t mess up the overhang on the side by trimming the edge after installing the shingle. So I
- Laid the shingle in place
- Marked where to cut it with a knife
- Cut the piece to fit
- Nailed it in place


Now you’re just going to rinse and repeat this process until you get to the top of the roof.
The Very Last Course
This very last course is going to be covered mostly by the front flashing. Like all the courses before we want a 5 inch exposure so we’re going to mark and snap a guide line.

Now we can mark, trim and nail the last course in place.
When you’re laying these out just remember to overlap any shingle seams. Since most of this course is going to be covered by the flashing in the front I didn’t put in spacing to make it look like the other courses. Also, I was quickly running out of shingles so this row was made from all the leftover cuts and scraps.

Installing the Front Edge Flashing
The edging for the front of the roof is some 3 inch by 3 inch angled flashing. The stuff I bought was originally brown so I used some white spray paint to make it match everything else.

Now we need to measure to find the center of the roof. From there we’ll be able to cut front flashing.

When your figuring out your cuts just remember you need to have a 6-8 inch overlap.

We’re going to use flashing adhesive on the side that will sit on the asphalt shingles.

Nail the flashing in every 12 inches. If you want to be extra cautious, you can put some of the flashing adhesive on the nail heads to seal them up.

Now that the roof is done we’re going to finish up a couple of things with the upper side walls and around the windows and doors next time. Below you’ll see the cost for this part of the project along with the running total.

Hopefully this article helped you get started on building your shed. If you found this interesting please think about signing up for our email list and get content sent straight to your email when it gets released. Also, we are on the social media sites above and YouTube.
Great project! I really like the foam insulation solution for the exposed soffits, eliminating the inevitable shiners of roofing nails. Have you picked a siding product yet? T1-11 or shingles, Hardy ship lap? Are you posting the next segment soon? Do you have plans for sale? Thanks for such a well done video!